
If you are into 3D printing, especially using FDM (Fused Deposition Modeling) printers, you might have encountered issues like blobs and zits on your prints. These imperfections can ruin the quality of your 3D models, making them look unprofessional.
In this blog post, we will explain what blobs and zits are, why they happen, and how you can fix them.
What Are Blobs and Zits?
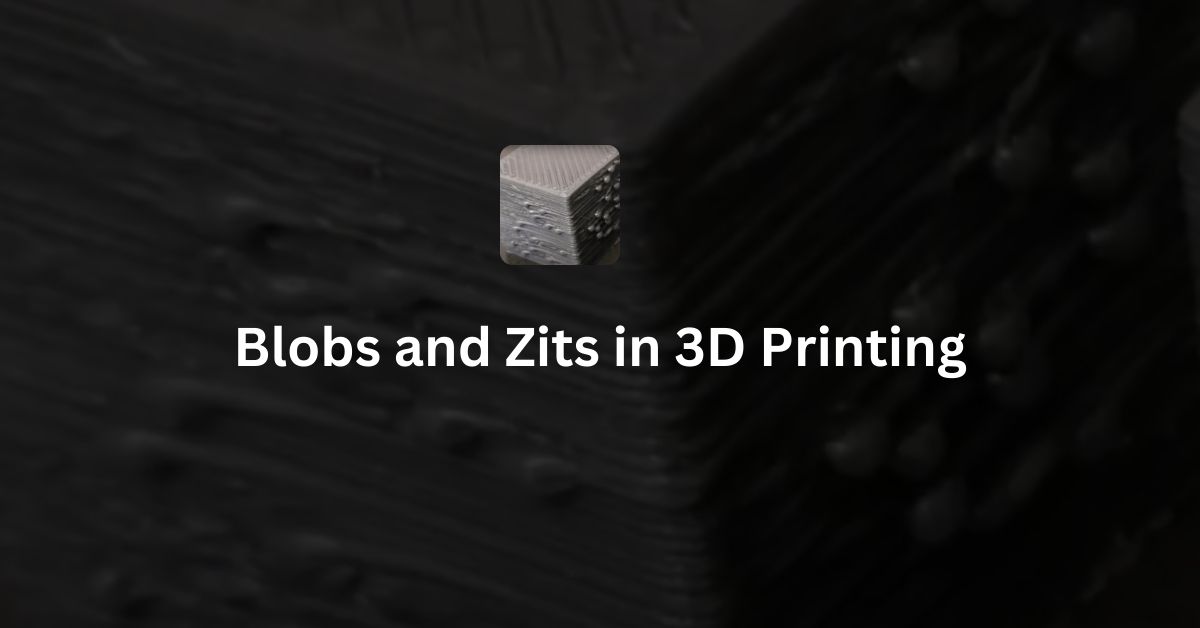
Blobs and zits are small bumps or protrusions that are formed on the surface of a 3D print. They are usually caused by the printer extruding too much filament at certain points. Here’s a simple way to differentiate them:
- Blobs are larger, more noticeable bumps that occur when there is a sudden extrusion of filament, creating a visible bulge on the print.
- Zits are smaller, pimple-like protrusions that often appear when the printer pauses or slows down at a certain point, causing a slight over-extrusion of filament.
Why Do Blobs and Zits Occur?
There are several reasons why blobs and zits are formed on your 3D prints. Here are some common causes:
- Incorrect Retraction Settings: Retraction is the process of pulling back the filament slightly when the printer moves from one point to another without extruding. If the retraction settings are not correct, the filament might ooze out, creating blobs or zits.
- Inconsistent Extrusion: Inconsistent flow of filament from the nozzle can also cause these imperfections. If the extruder is pushing out too much or too little filament at different points, it can lead to blobs or zits.
- Nozzle Temperature: The temperature of the nozzle plays a critical role in the extrusion process. If the nozzle is too hot, the filament might melt more than necessary, causing it to ooze and form blobs. If it’s too cool, the filament might not flow properly, creating uneven surfaces.
- Movement Speed: The speed at which the printer moves can impact the quality of the print. If the printer head moves too slowly, it might deposit more filament in one area, leading to blobs. Conversely, if it moves too fast, it might not extrude enough filament, causing gaps or inconsistencies.
- Software Issues: Sometimes, the slicing software (the program that converts your 3D model into instructions for the printer) can create paths that cause the printer to pause or slow down at certain points, leading to the formation of zits.
How to Fix Blobs and Zits
Here are some effective ways to minimize or eliminate blobs and zits in your 3D prints:
- Optimize Retraction Settings: Adjust the retraction distance and speed in your slicing software. Increase the retraction distance slightly to pull more filament back into the nozzle, preventing oozing. Similarly, setting a higher retraction speed can quickly pull back the filament without creating pressure buildup.
- Calibrate Extrusion: Make sure your printer is calibrated for proper extrusion. You can do this by printing a test object and adjusting the extrusion multiplier or flow rate in your slicer settings until the filament is deposited consistently.
- Adjust Nozzle Temperature: Try lowering the nozzle temperature by a few degrees to reduce filament oozing. However, ensure the temperature is still within the recommended range for your filament type to avoid under-extrusion issues.
- Fine-tune Movement Speeds: Experiment with different print speeds to find the right balance. A slower speed can improve print quality but may increase the risk of zits. Finding the optimal speed for your printer and filament type can reduce imperfections.
- Use Coasting and Wiping Features: Many slicing software programs have features like coasting and wiping. Coasting stops the extrusion a little early, using the remaining filament pressure to finish the line, reducing the chance of blobs. Wiping moves the nozzle away while retracting, smoothing out the extrusion and minimizing zits.
- Regular Maintenance: Ensure that your printer’s nozzle and extruder are clean and free from clogs. Regular maintenance can prevent inconsistent extrusion and other issues that contribute to blobs and zits.
Conclusion
Blobs and zits can be frustrating, but with a few adjustments to your 3D printer settings, you can significantly reduce these imperfections. By optimizing retraction settings, calibrating extrusion, adjusting nozzle temperature, fine-tuning movement speeds, and using features like coasting and wiping, you can achieve smoother and more professional-looking 3D prints. Every printer is different, so it may take some experimentation to find the perfect settings for your specific machine and filament.
Happy 3D printing!
Defects in FDM 3D Printing
Checkout this 8Tth pay commission salary calculator – 8th pay commission calculator

