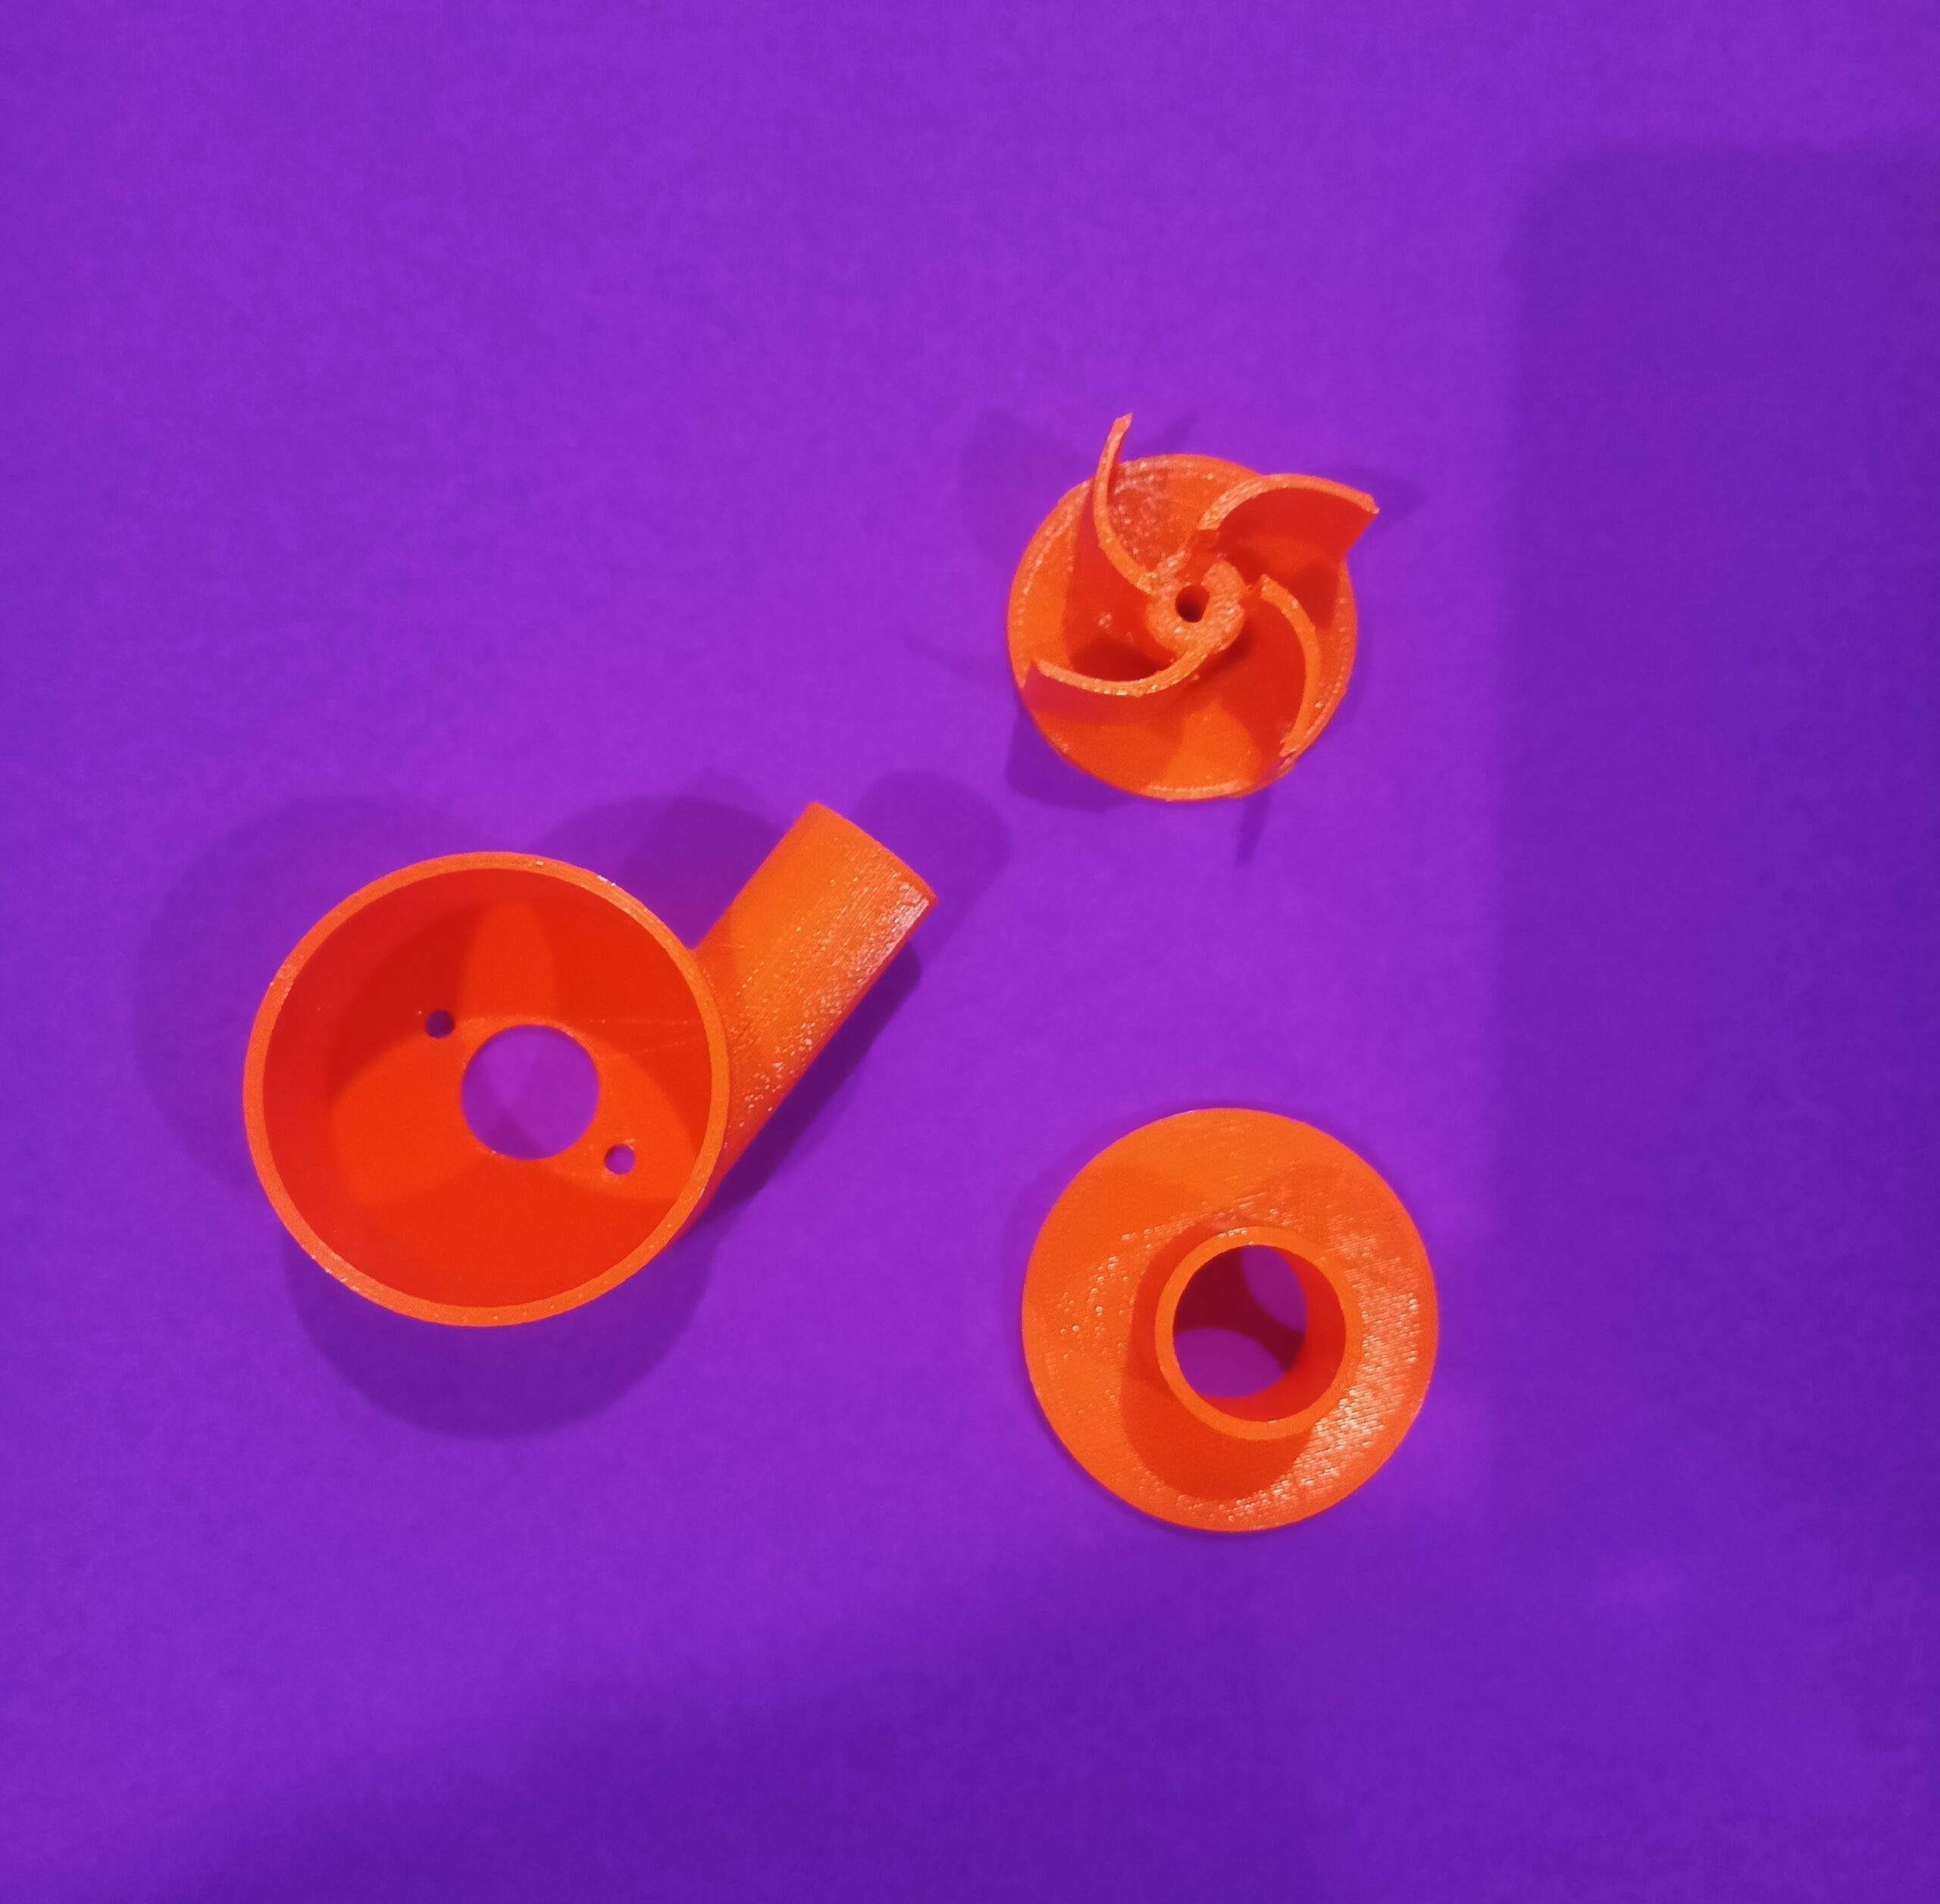
A 3d printed water pump 775 motor is an easy-to-print centrifugal pump that consists of 3 main parts – case, turbine and cover, where 775 is the specs of the motor.
The best part of 3D printing a water pump is that it is highly customizable; you can change or add anything according to your requirements. Another positive side of 3D printing these pumps or anything else is that you can print them when required.
This is a good and working 3d printed water pump compatible with a 775 DC motor.
But the printing of this design is a bit tricky as it contains an overhang where supports have to be used so that I will explain that process in detail in this article.
How to slice 3d printed water pump?
Let me start with the slicing software because it’s essential. I have used a lot of slicing software and found that one software is good for one thing, and some other software is good for some other thing. So I keep a few softwares handy.
If I talk about this particular design, then the best software for this design will be Prusa slicer because it gives the ability to generate support according to the requirement, which is much needed in this design. If you are using some other slicing software that has this feature, then it’s good to go.
When slicing it, you need to focus on the pipe structure that is coming out of the case. You can see it is not grounded, and it is round like a pipe. So, for this part to be printed properly, I have to use support.
So, firstly, I have to use supports between the surface and the lower end of the pipe. Secondly, I have to use supports inside the pipe. After it is printed, these supports can be removed easily.
The primary purpose of these supports is to give a temporary base for printing the actual design. Without these supports, 3D printing this kind of design is not possible.
Below is the picture of the water pump case after slicing it with a Prusa slicer.
In the picture below, you can see the supports inside the pipe structure of the case. These supports will provide a base for the upper portion of the pipe to be printed.
You have to use the supports very wisely, or it can also ruin the whole part. If you pay close attention to the supports inside the pipe, you will realize that these supports are very few as compared to the supports below the pipe (see above image).
This is because of the reasons that support has to be removed after the 3d printing is completed. If you stuff a lot of supports in the inner side of a structure, then it will be very hard to remove them afterwards. In the process of removing supports, the part can also break.
In order to make these supports with a Prusa slicer, follow these steps:
Step 1. Add the part in the slicer using the “add” button. Add button is the first button from the above, and you can also see a small “+” sign on its foot.
Step 2. Bring the part in the same orientation as you can see in the above pictures. You can use the “place on face” tool for this purpose. Just press F to activate the tool and then click on the face on which you can see three holes.
Step 3. Now, to generate the supports automatically, use the “paint on supports” tool by pressing L or clicking on the tool. A small window will pop up. Click on the “automatic mounting” option on this window.
Assembly of water pump
Assembly is quite simple as there are only three parts. The turbine fan will go inside the case, and the cover will come on it.
Step 1. To mount the 775 motor, put the shaft of the motor through the centre hole in the case and use the screws to secure the motor in its place through the two small holes.
Step 2. Put the turbine into the shaft of the motor in a way you can see the fins.
Step 3. Now put the cover on it and secure it with glue.
Cost of diy 3d printed water pump
So the weight of this diy water pump is 38g approx and the price of PLA filament is Rs.1000/kg i.e, Rs.1/g. So accordingly the cost of filament used is Rs.38. But I also have to include the cost of electricity used, time taken and machine depreciation to calculate the complete cost.
Cost of time is Rs.63/hr and it took 2 hours to make it. So the cost of time used will be Rs.126.
Now the power of my 3d printer is 270 watts or 0.27 KWh (kilo watt hour). The cost of 1 unit(KWh) electricity is Rs.10. So the cost of electricity used is 0.27x2x10 = Rs.5.40
Combining of all these costs we will have the final cost of making water pump i.e. Rs(38+126+5.40) = Rs.169.40
You can use this water pump in your DIY projects.
This design is from thingiverse. You can find this design by the title DIY Water Pump Kit V1 Motor 775 or simple use the link.
FAQ’s
Is 3d printed water pump expensive?
No, Its not expensive it costs under Rs.100 to 3d print it. The cost also depends on it’s size.
Is 3d printed water pump good?
Yes, the quality of a 3d printed water pump it quite good.
Is 3d printed water pump strong?
Yes, if it is made with good infill percentage and the good number of top, bottom layers.
Is 3d printed water pump useful?
Yes, It is very useful. It can also be used in projects.
Defects in FDM 3D Printing
3D Printers In Your City:
3D Printing Services In Your City (Prototyping Service):
