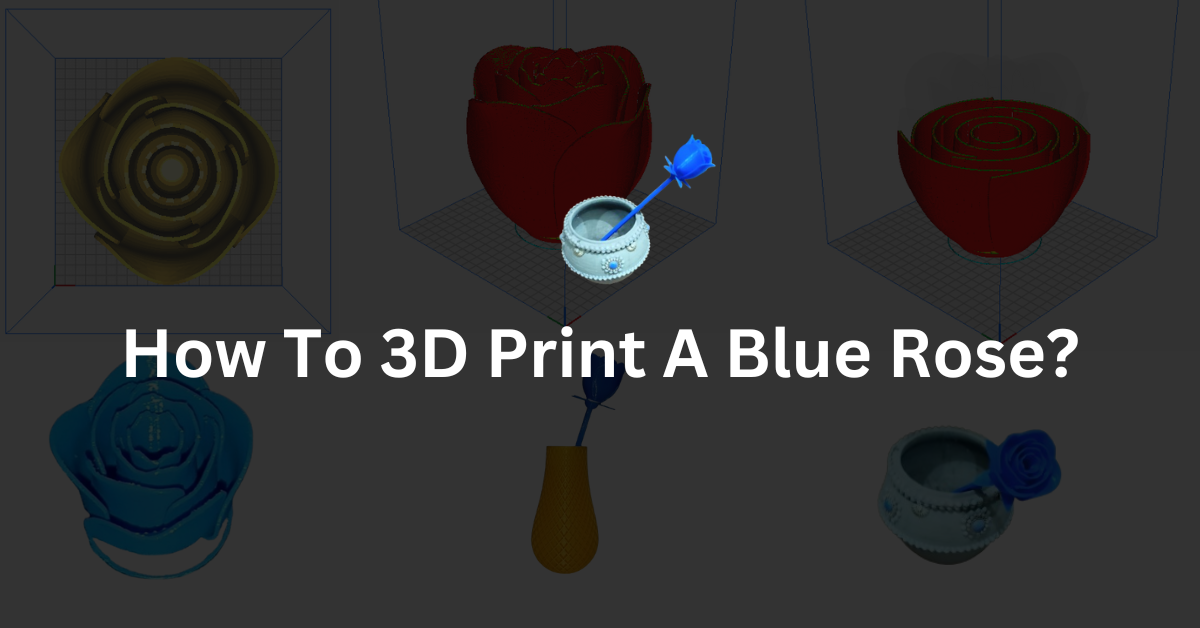
A 3d printed blue rose looks really beautiful and the best thing about it is that it will never wither. It can be used for decor purposes. You can also scale its size according to your requirement. I have 3d printed this rose and tell you how you can also do so in this article.
I keep it on my table in a double spiral vase that I printed and it looks good. You can also print a bunch of these roses in different colours and keep them together in a vase. They will look very beautiful.
Rose Design
You can easily find various designs of rose to 3d print in websites like – thingiverse, cults3d etc for free. I am using a design from printables.com by Spragclutch – Rose with stem, sepals and leaf. You can also use this design according to its license.
So the design is quite simple, there are four designs that have to be printed 1) rose – top part 2) stem 3) sepals and leaf. The stem has place for two leaves. But to keep it simple I am not printing leaf as I want to put into a vase and leaves will obstruct.
Slicing
After getting the design, I need to slice it with a good slicing software. Here I am using Cura. I the picture below you can see the rose in Cura before slicing.
In the pictures below you can see the preview after slicing is done.
In the prebiew tab there is a scroll bar on the left side that you can move up and down. By moving it you can see the preview at different layer heights.
Filament
Obviously, I want to make a blue rose, so I am using a blue PLA filament. You can also try other colours like red, golden, brown or white, whatever you like. You can also use wooden PLA to give it a wooden look.
Dimensions
The dimensions of the flower is as follows:
| Complete legth of flower | 250 mm |
| Rose (top part) width | 45 mm |
| Rose (top part) height | 40 mm |
3D Printing Blue Rose
I have used my ender 5 pro to print it which happens to be a greate 3d printer. I printed the rose separately as printing all of them together will take a lot of time. Then I printed the stem and sepals together.
The white patches that are on the machine bed are from the white filament that I have used previously to print an easter egg.
Cura Print Settings
| Supports | Only touching bed |
| Infill | 80% |
| Rafts | No |
| Brim | No |
| Bed Temperature | 50°C |
| Nozzle Temperature | 210°C |
The length of stem is bigger then the bed so I have to put it diagonally. You can see the stem has left the bed at on side, this is because of bad bed adhesion. I was printing this piece on winter days. In winters generally I keep the bed temperature on around 50°C to keep the good bed adhesion.
I turned off the bed temperature while printing this rose because I thought it will be good. But later it left the bed due to cold, I let it complete as it was still able to print. This defect in 3d printing is called “Warping”.
Printing time
The printing time of the top part is 1 hour and 29 mins and the printing time of the lower parts i.e. stem and sepals is 45 mins approx. So the printing time of the complete rose is about 2 hours and 15 mins.
Putting these parts together is simple, I just glued them together one by one. First I glued the sepals to the rose and left it for half an hour. After that I glued the stem into the sepal and then again left it for half an hour. And the rose is ready.
In this picture below, you can see I have put this rose in a small pot on the centre table. This table is in the porch area of my house and I kept it there for some days then I took it inside. Now I keep it on my working table in a vase.
3d printing these kind of small things increases my creativity and gives immense satisfaction. People around me also appreciate it. So, 3d printing is a very good hobby to have. Instead of spending time on inertnet watching random youtube videos or reels, this is a good thing to do.
If you want some other information about this 3d print, you can aske me in comments section. Also if you have any suggestion for me please let me know.
Defects in FDM 3D Printing
3D Printers In Your City:
3D Printing Services In Your City (Prototyping Service):
